This article will guide you through attaching notes to an invoice while processing it. This may be useful in cases where you have received multiple cheques to cover one payment, or other special cases.
Accessing Accounts Receivable Reports
1. Log in to your Member365 Administrator Dashboard.
2. In the top bar, click ‘Financial‘.

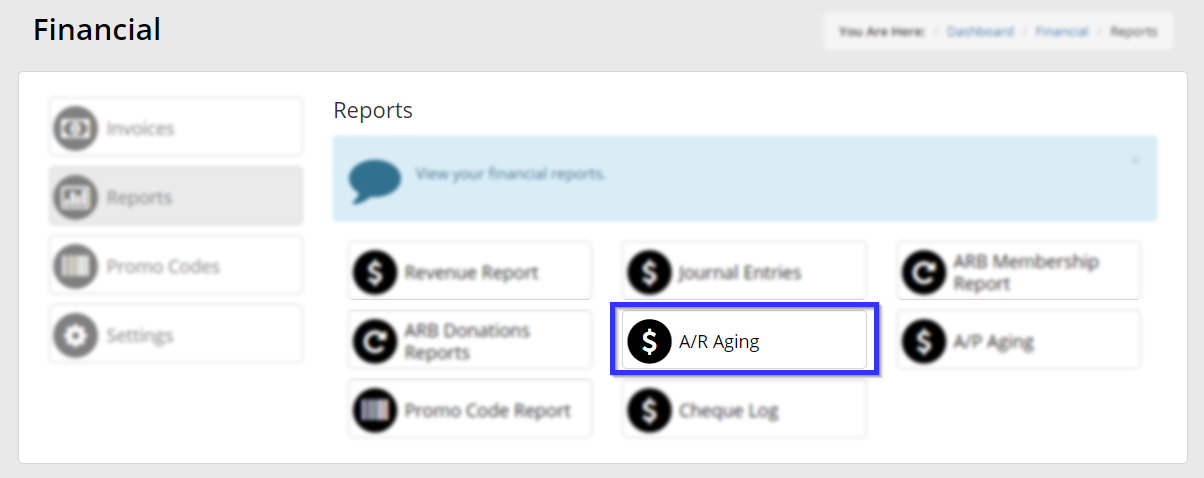
3. Click Reports on the left-menu > ‘A/R Aging‘.

Processing an Invoice
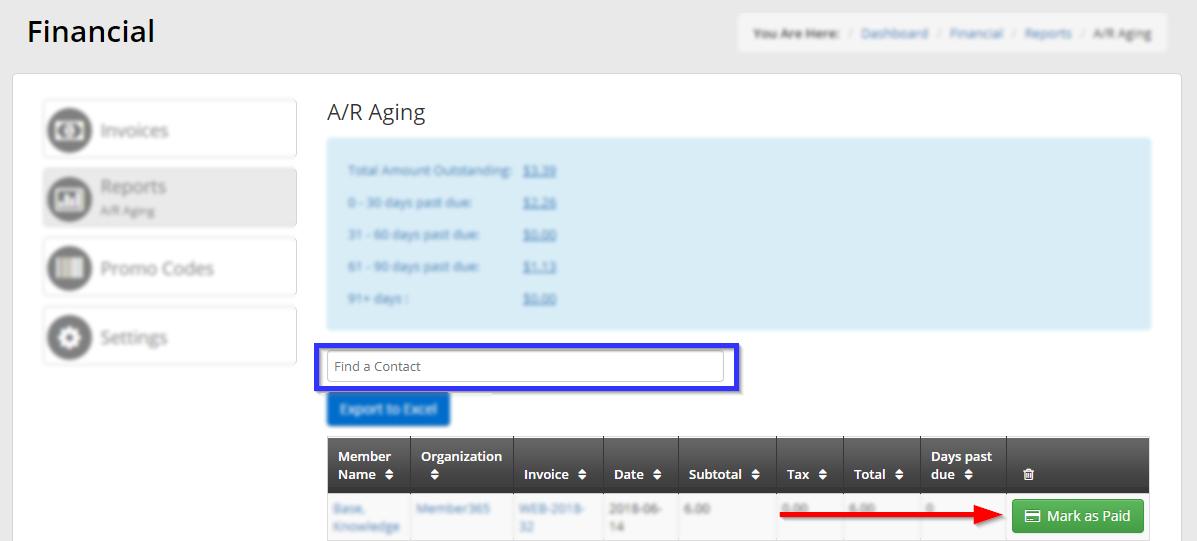
4. Find the invoice in the list, by entering the associated contact’s name in the search bar if necessary, and click ‘Mark as Paid‘.

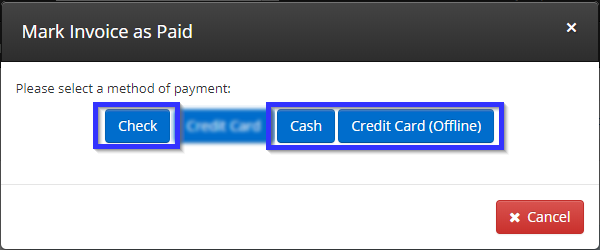
5. Select the appropriate payment method from the window that pops up, though note that payment notes cannot be attached to online credit card payments.

6. Enter any appropriate details in the ‘Comments‘ field, and then click either ‘Continue and Skip Email‘ or Continue and Send Email‘, depending on whether you would like to send notification to the associated contact.
Congratulations, you have successfully attached notes to this invoice!
Comments
Please sign in to leave a comment.