This article helps show you how to attach an Add-on to a membership category to allow members to purchase items in addition to the membership, such as Insurance, Guides, Books, Journals, etc.
Access the Membership Category
1. Log into the Member365 Administrator Dashboard.
2. Hover over ‘Membership’ on the bar at the top of the screen then click 'Category Setup’ from the dropdown menu

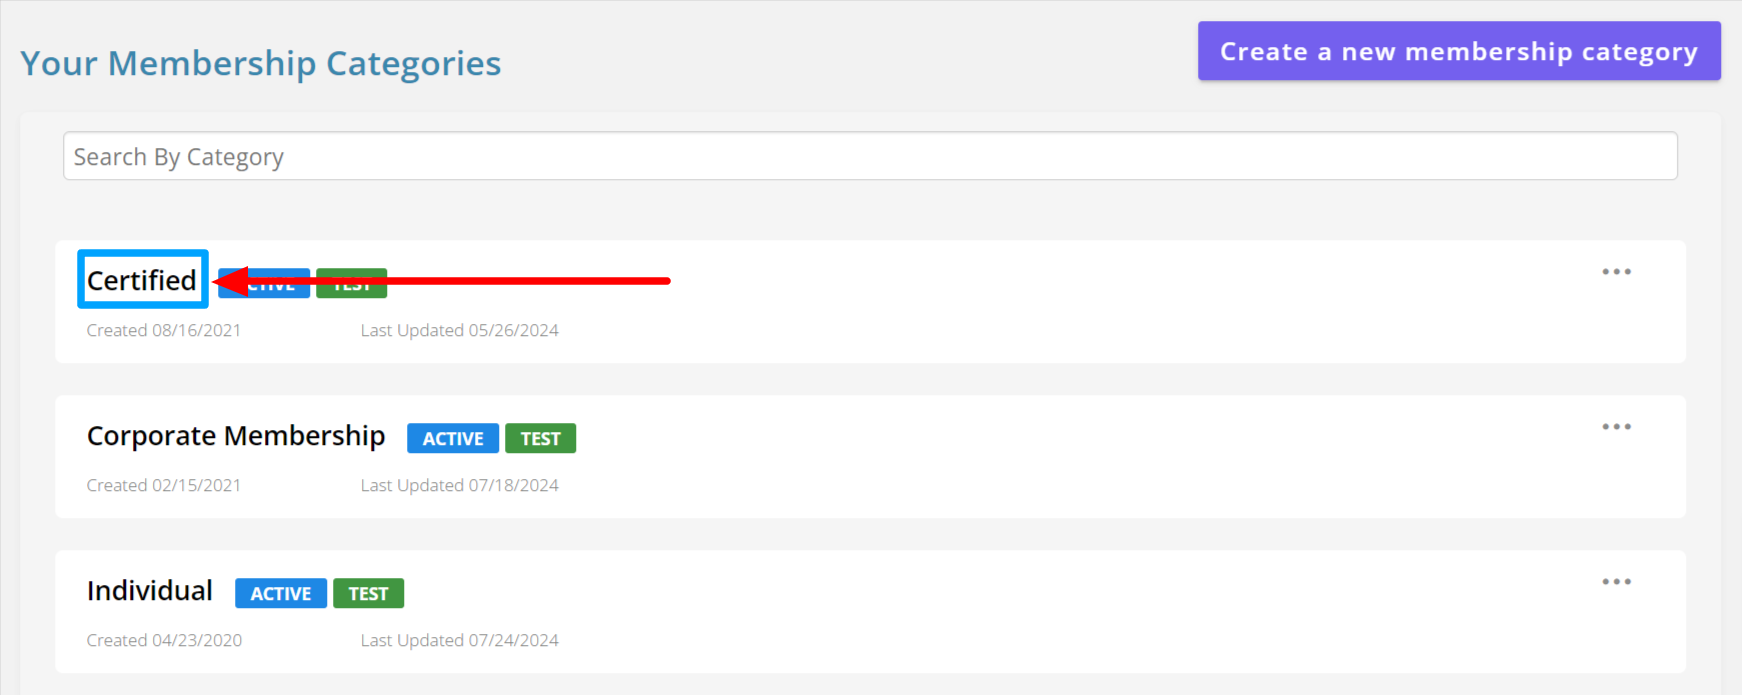
3. Locate the Membership Category to which you want to attach the Add-on, then click its name.

How to Attach an Add-on
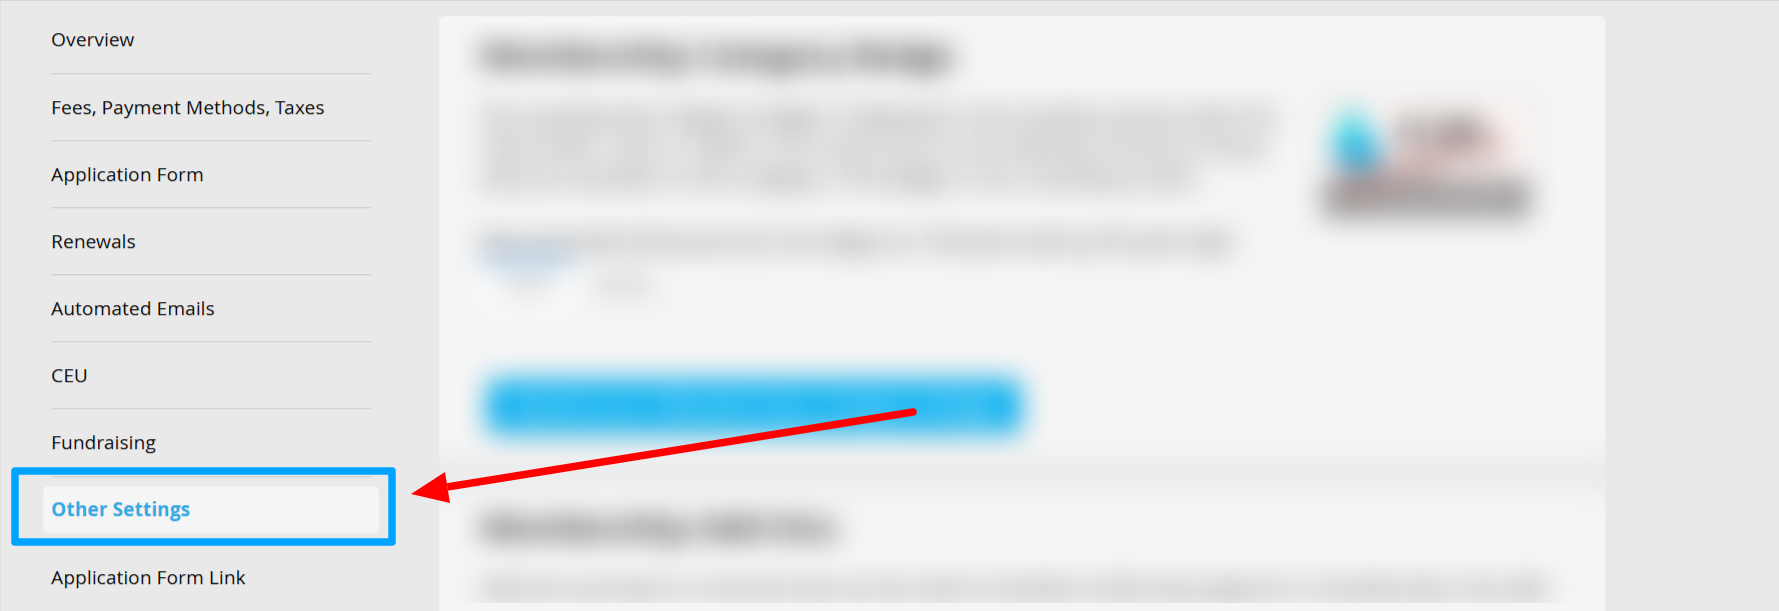
4. From the available tabs on the left of the screen, click ‘Other Settings’

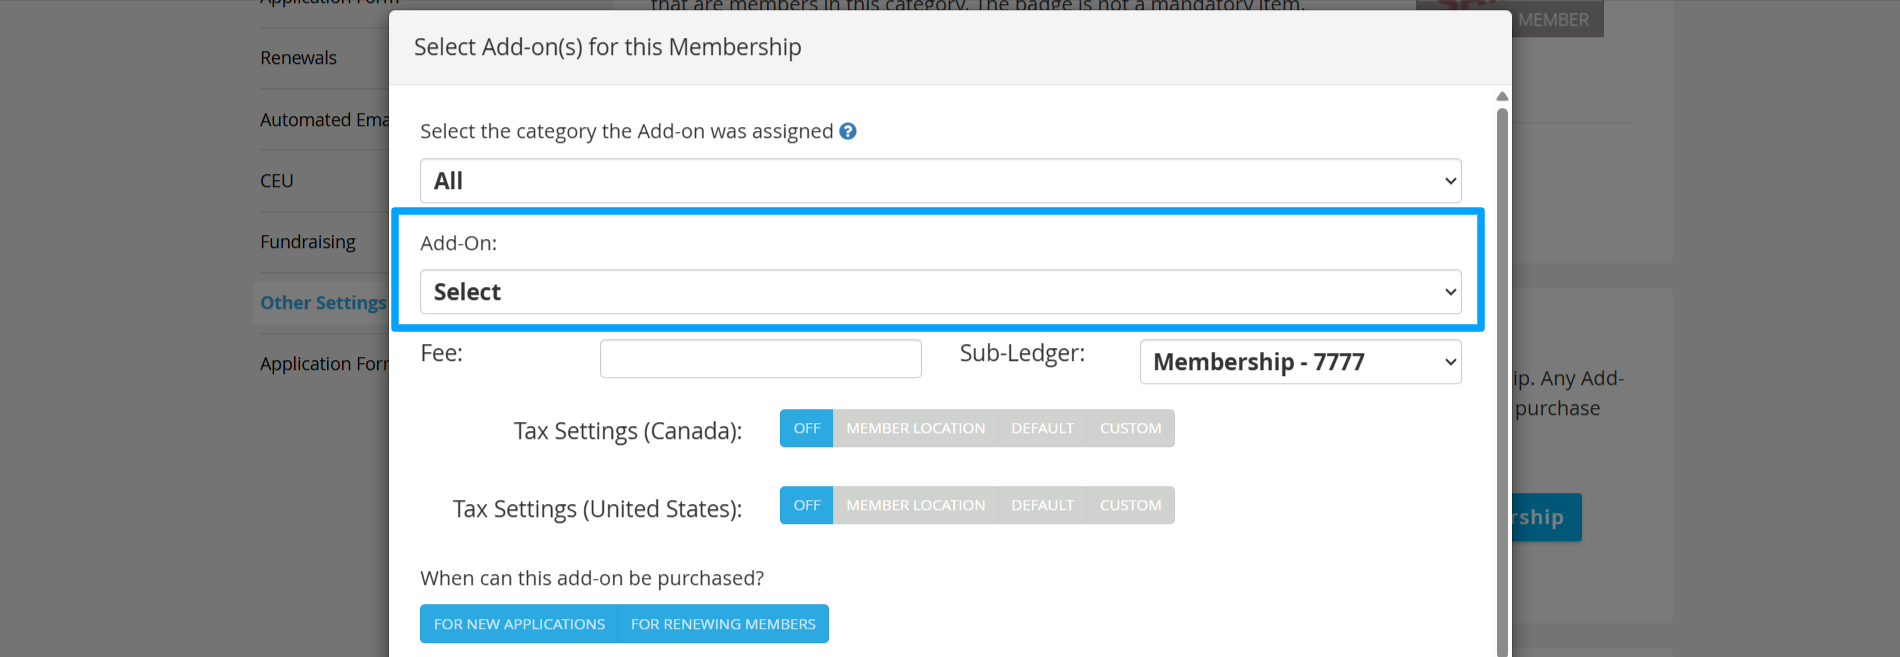
5. Scroll down to the 'Membership Add-Ons' section and click on the 'Select Add-on(s) for this Membership' button.

6. Select the category your add-on is under, select your add-on, and click ‘Assign Add-on.‘ Using the ‘Fee’ section, you can edit the fee this membership category must pay and taxes for access to your membership add-on.

7. Next, indicate 'When can this add-on be purchased?' by selecting the option(s) you want to have. The button will appear blue to activate.
- For New Applications: When new members apply.
- For Renewing Members: When members renew.
8. If applicable, determine your Automated Recurring Billing (ARB) setting for your add-on item.
-
If the user selects this add-on for purchase, remove the option for them to select automated recurring billing?
- Yes- Remove the option for them to select automated recurring billing.
-
No- Do not remove the option for them to select automated recurring billing.
-
Do you want this add-on to be automatically charged for members with automated recurring billing?
- Yes- Automatically charge with automated recurring billing.
-
No- Do not automatically charge with automated recurring billing.
9. Select whether or not you want this add-on to be a mandatory purchase - and if so, during application, renewal or both.
10. Click 'Assign Add-on,'
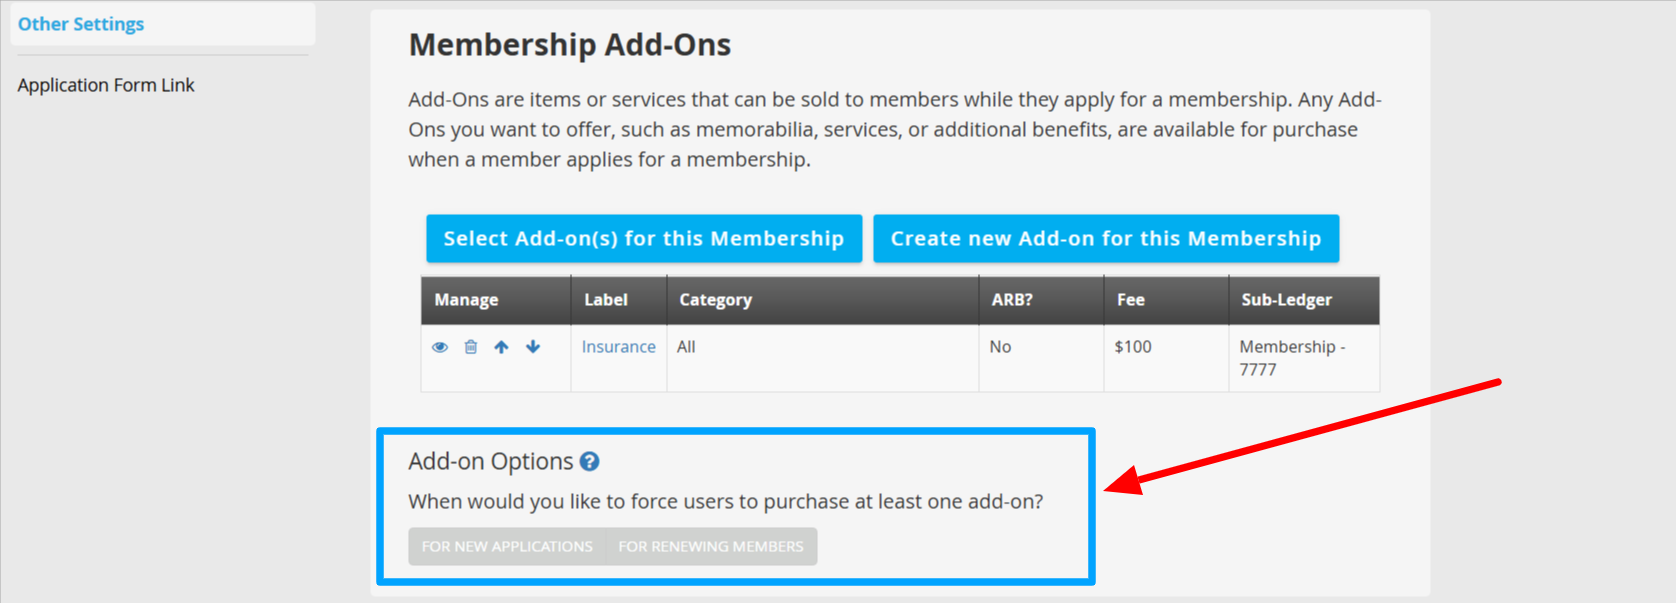
11. Add-On Options are optional (unless specified in step 9). However, even with all optional add-ons, you can force a user to purchase
at least one add-on during the application or renewal or both. Choose your settings by selecting the buttons to appear blue.

12. Click 'Save Membership' to save your work.
IMPORTANT NOTE: If you haven't
set up add-on categories, select the ‘All’ category to find your add-on. If you haven’t created your add-on yet, click
here to find out how.
Comments
Please sign in to leave a comment.