This article will guide you through granting access to a certification program to a single person in your contact list.
The process will begin with granting them access to the program, and then you will configure the Member Portal to make the corresponding badge visible to that person.
Granting Program Access
1. Log in to the Member365 Administrator Dashboard.
2. On the top bar, click ‘Modules‘.

3. From the drop-down menu, hover over ‘Learning Management (LMS)‘ and then click ‘Course Management‘.
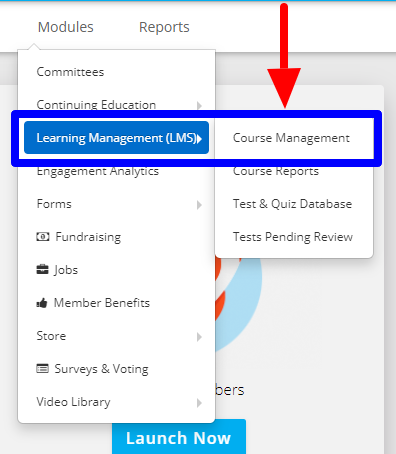
4. Click the name of the certification program to which you are granting access.

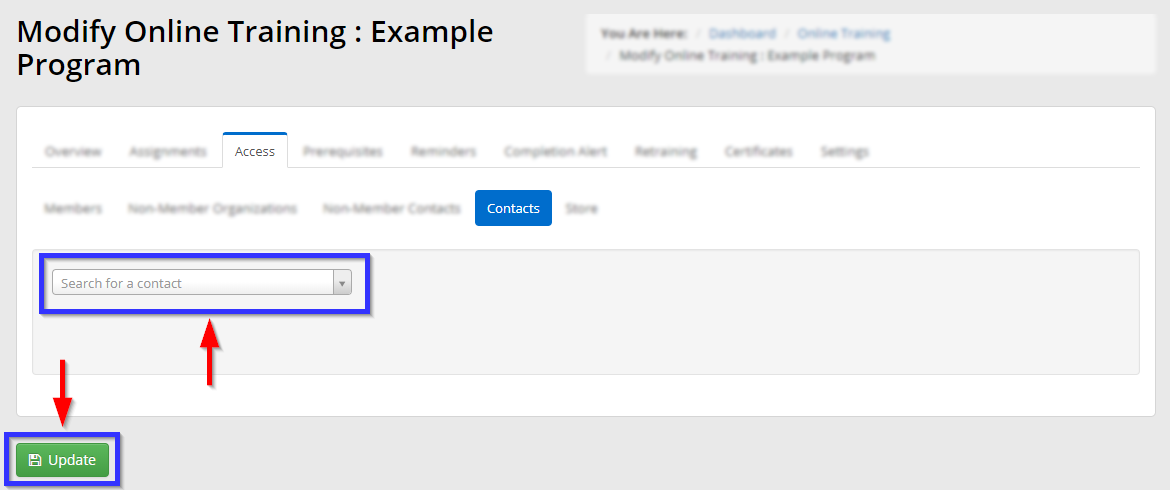
5. Click on the ‘Access‘ tab.

6. Click on the ‘Contacts‘ tab.

7. Click the ‘Search for a contact’ search bar and begin entering the name or email address of the contact to whom you are granting access, and then click their name when it appears. Once you have selected their name, click ‘Update‘ to apply the permission.
Configuring Badge Visibility
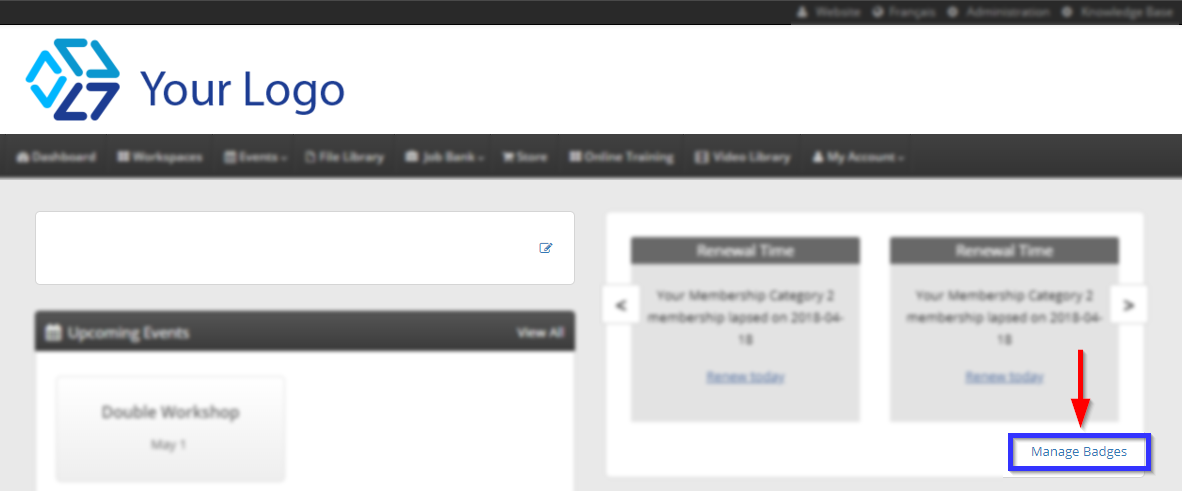
8. In your browser’s address bar, delete everything after ‘.com’ and press Enter on your keyboard to access the Member Portal.
9. On the right side of the screen, click ‘Manage Badges‘.
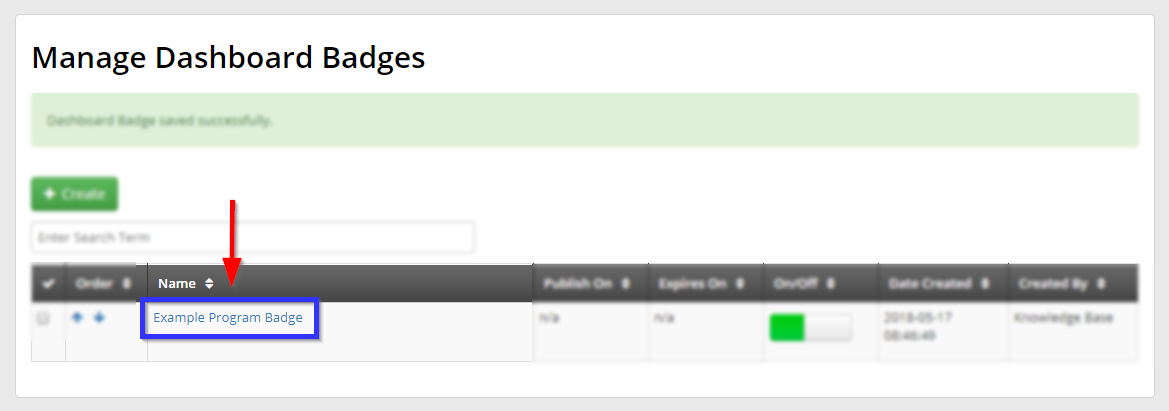
10. Click the name of the badge corresponding to the certification program.
11. Click the ‘Access‘ tab.

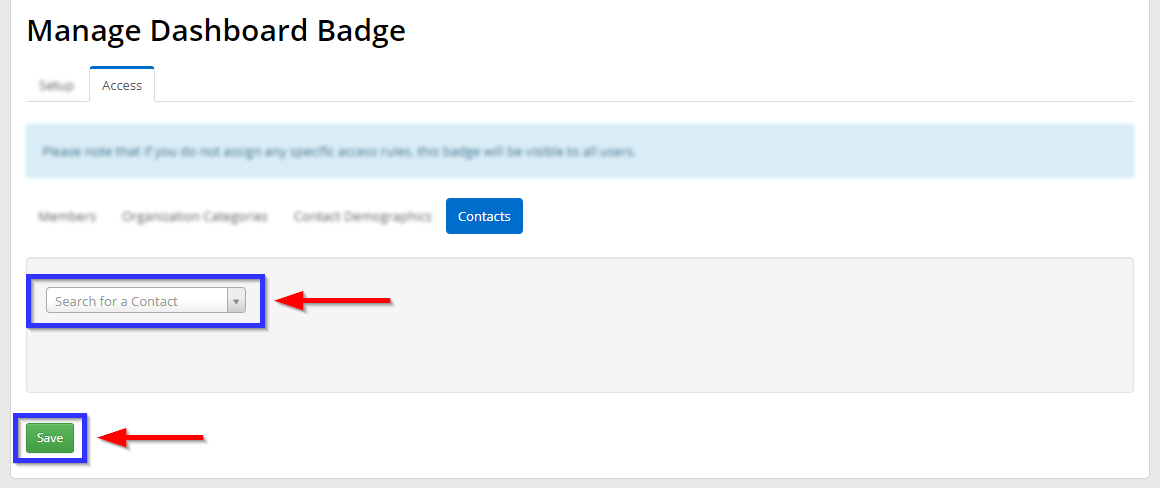
12. Click the ‘Contacts‘ tab.

13. Click the ‘Search for a contact‘ search bar, begin entering the name or email address of the contact for whom you wish this badge to be visible, and click it when it appears. Once you have selected their name, click ‘Save‘ to apply your changes.
To return to the Administrator Dashboard, return to your address bar, delete everything after ‘.com’, type ‘/crm’, then press Enter on your keyboard.
Congratulations, you have granted certification program access to a single user!
Comments
Please sign in to leave a comment.